

 2706
2706
Note: This guide is for APU-issued Windows devices only. Personal devices are unable to connect to university printers.
1. Open the Start menu
Click the Windows logo button in the bottom-left corner of your screen.
![]()
2. Type the printer server address
Without clicking anywhere, type the following address and press Enter on your keyboard:
\\printing.apu.edu
- Even if you do not see a search bar, just start typing and it will appear automatically.
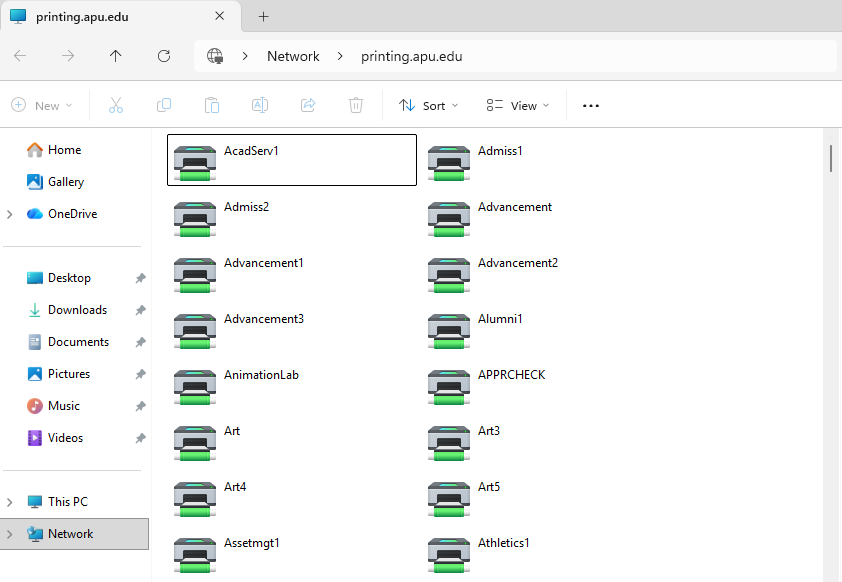
3. Find your printer in the list
A window will open showing all available university printers. Locate the printer you want to use and right-click on it.
- The printer name is printed on a label on the physical device.
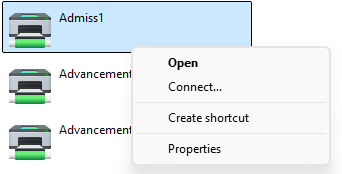
4. Click “Connect”
Select Connect from the menu. The printer will begin installing to your device automatically.
5. You’re ready to print!
Once installation finishes, the printer is ready to use. When printing a document, make sure you select the correct printer name from the printer list.
If you run into any issues, take a screenshot of the error and email it to [email protected] or call (626) 815-5050.

