

 1983
1983
1) Access your drive via the Google Apps grid. Note: your Drive icon placement may differ, but it will be in the apps section

2) Create a Form

3) Once you have created it, you can open it up and share it so that people can fill it out (but you might want to save that until you have finished making the form.

4) You can share the link by copying and pasting (yellow box), through email (red box), and through an embed HTML (blue box). If you would like the form to collect the respondents email check the blue box.

5) When you first enter the form there are a number of options to choose from in the Form Settings section in the top right corner. Select any or all that you desire.


6) The next section deals with the form itself. The Title, Description of its purpose, and the questions you want to have answered. You can make a question mandatory by checking the “Required questions” check-box.

7) In the “Question Type” drop-down box you can select which type of question you would like to ask.

8) If you want to add another question, click the “Add button

9) You can also change the theme of the form by going to the top toolbar and clicking the “Change theme” button

Accessing the form once completed
1) When accessing the responses, you will open the form and see the response button next to it. If you would like to see the responses in a sheet you can press the green button and it will open up a form.

2) By accessing the Forms Document you will be taken to your forms page, where you can edit it any way you desire
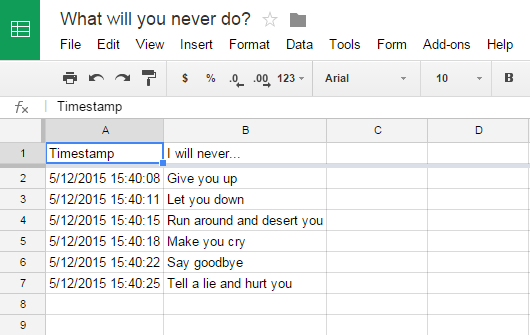
3) On the responses sheet page you will have a worksheet with any information you requested from those filling out the form. (Timestamp for when they submitted it, email, name, answers, etc.)
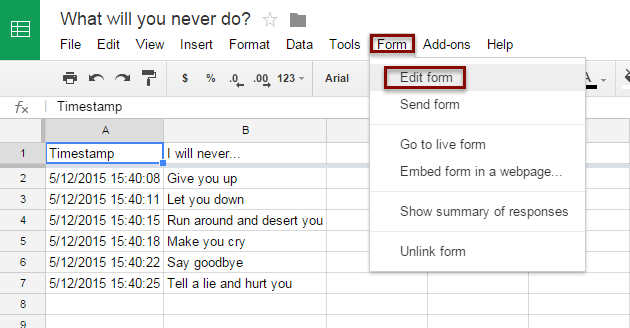
5) If you have permission, you can go back to the form to edit it from the sheet. Go to “Form” at the top toolbar, and click “Edit Form”
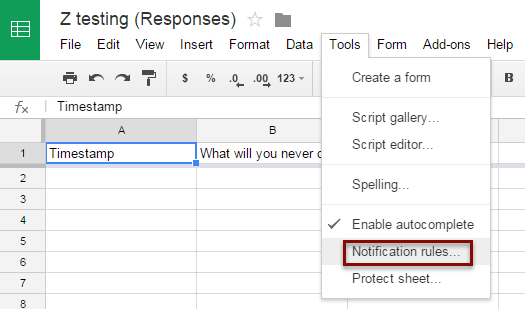
6) You can set notifications by going to “Tools” on the top toolbar, and selecting “Notification Rules”
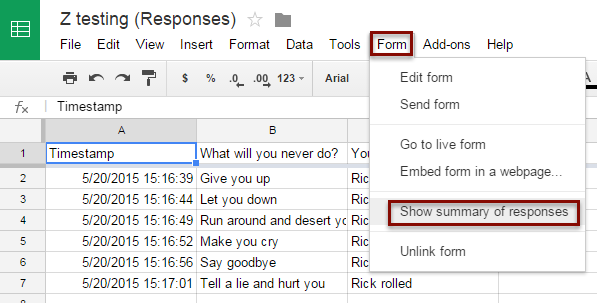
7) You can see a response breakdown by clicking “Form” on the top toolbar and selecting “Show summary of Responses”
8) You can format the sheet however you like, to a degree, by going up to the column title (It will be a letter by default) and clicking the little drop-down arrow

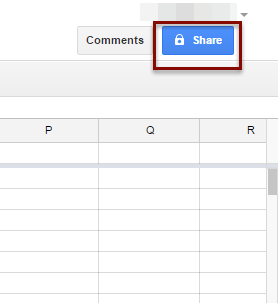
9) You can share the responses by going to the top right corner of the page and clicking the blue “share” button
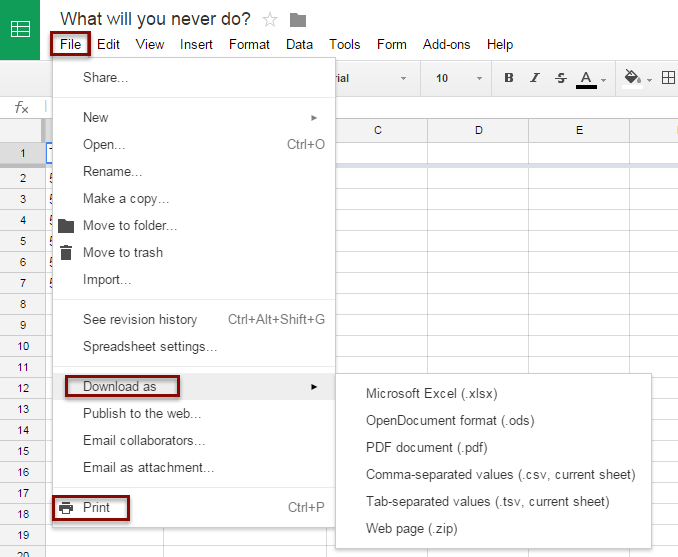
10) You can also download or print the Sheet by going to “file” and either “Download as” which will provide you with a number of options, or select “print” if you like
SOURCE MATERIAL
https://support.google.com/docs/answer/87809?hl=en
VIDEO TUTORIAL:
https://youtu.be/LCPVo-lFRhk?list=UUdgTksw283OFC78pFcwXIdA

